Make sure you have first read the GIMP help page and have installed GIMP, unless you plan to use other image software.
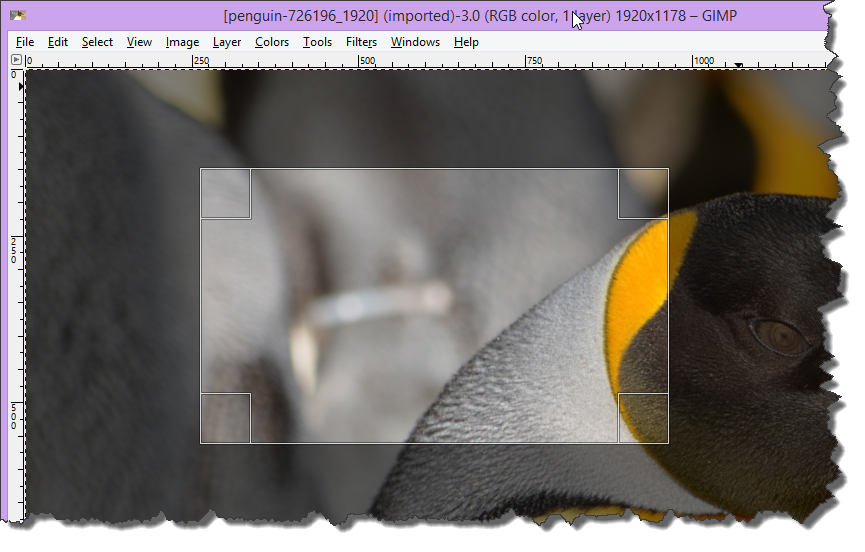
Viewing the current aspect ratio of a photo
When you open a photo in GIMP, then you should see in the title bar the current aspect ratio of the photo.

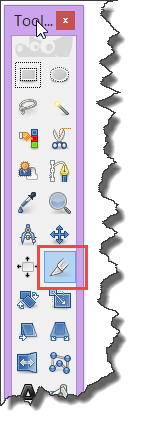
Selecting the crop tool
You will need to use the Crop Tool to select just the part of the photo you want.
To do that, first open the Toolbox (either via "Tools --> Toolbox" or with Ctrl+B), and select the Crop Tool.
Mark an initial crop rectangle
With the mouse, drag a crop rectangle over part of the image. Don't worry about the size at the moment as we will set the correct size in a moment.
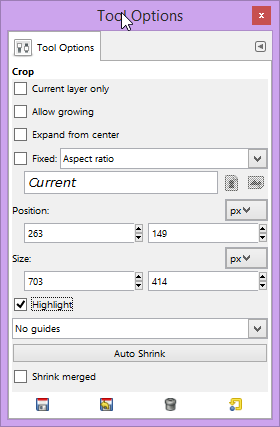
Open the Tool Options for the Crop Tool
Double click on the Crop Tool and the Tool Options box for the cropping will appear:
You will need to know what the new size you are going to set the photo to. See the Changing aspect ratio of photos help page for how to do this calculation.
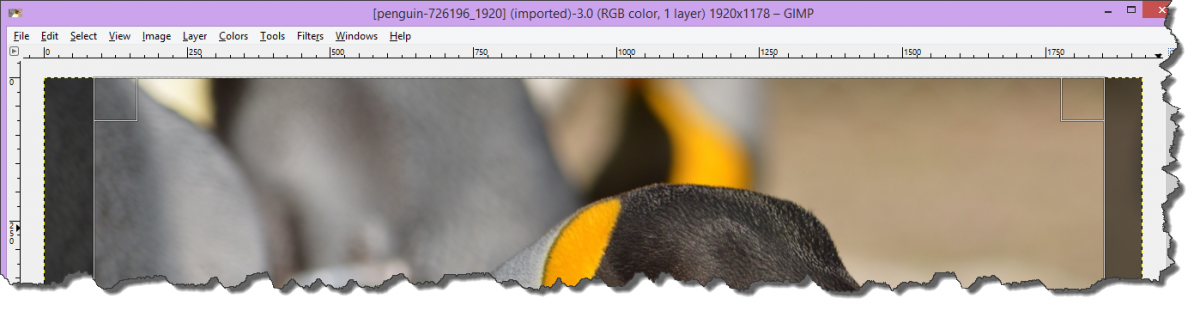
For this example, the current photo is 1920 x 1178. Using the Aspect Ratio Calculator, we calculate that we can keep the height the same at 1178 and change the width to 1767, so we will have an image of 1767 x 1178 to get the 3:2 ratio.
When you know the new dimensions, begin by typing 0 in both of the Position boxes, and the new width and height in the Size boxes:
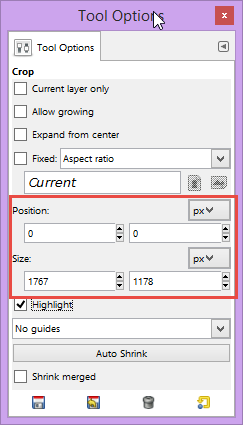
A highlighted crop rectangle of this size will be shown on top of the image. We can centre it on the portion of the image that we would like to keep:
When you have chosen the required area, double click the rectangle, and the image will change in size to just the cropped selection.
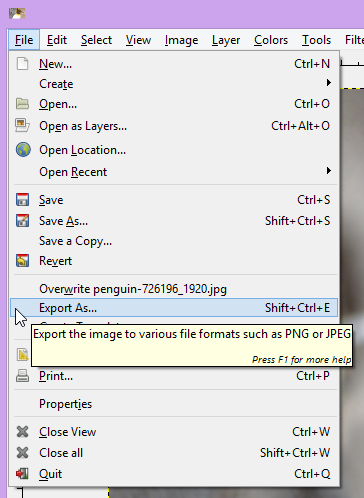
Exporting the photo
Note that you do not use "Save" or "Save As...", but rather "Export As...". You should export the photo as a JPEG format (.jpg), and choose a slightly different name (this ensures that the upload overwrites any previous image with the same name):
Watch the following video for an overview of the complete process: